
Hario V60 Brew Guide: How to Make Crisp, Vibrant Pour-Over Coffee
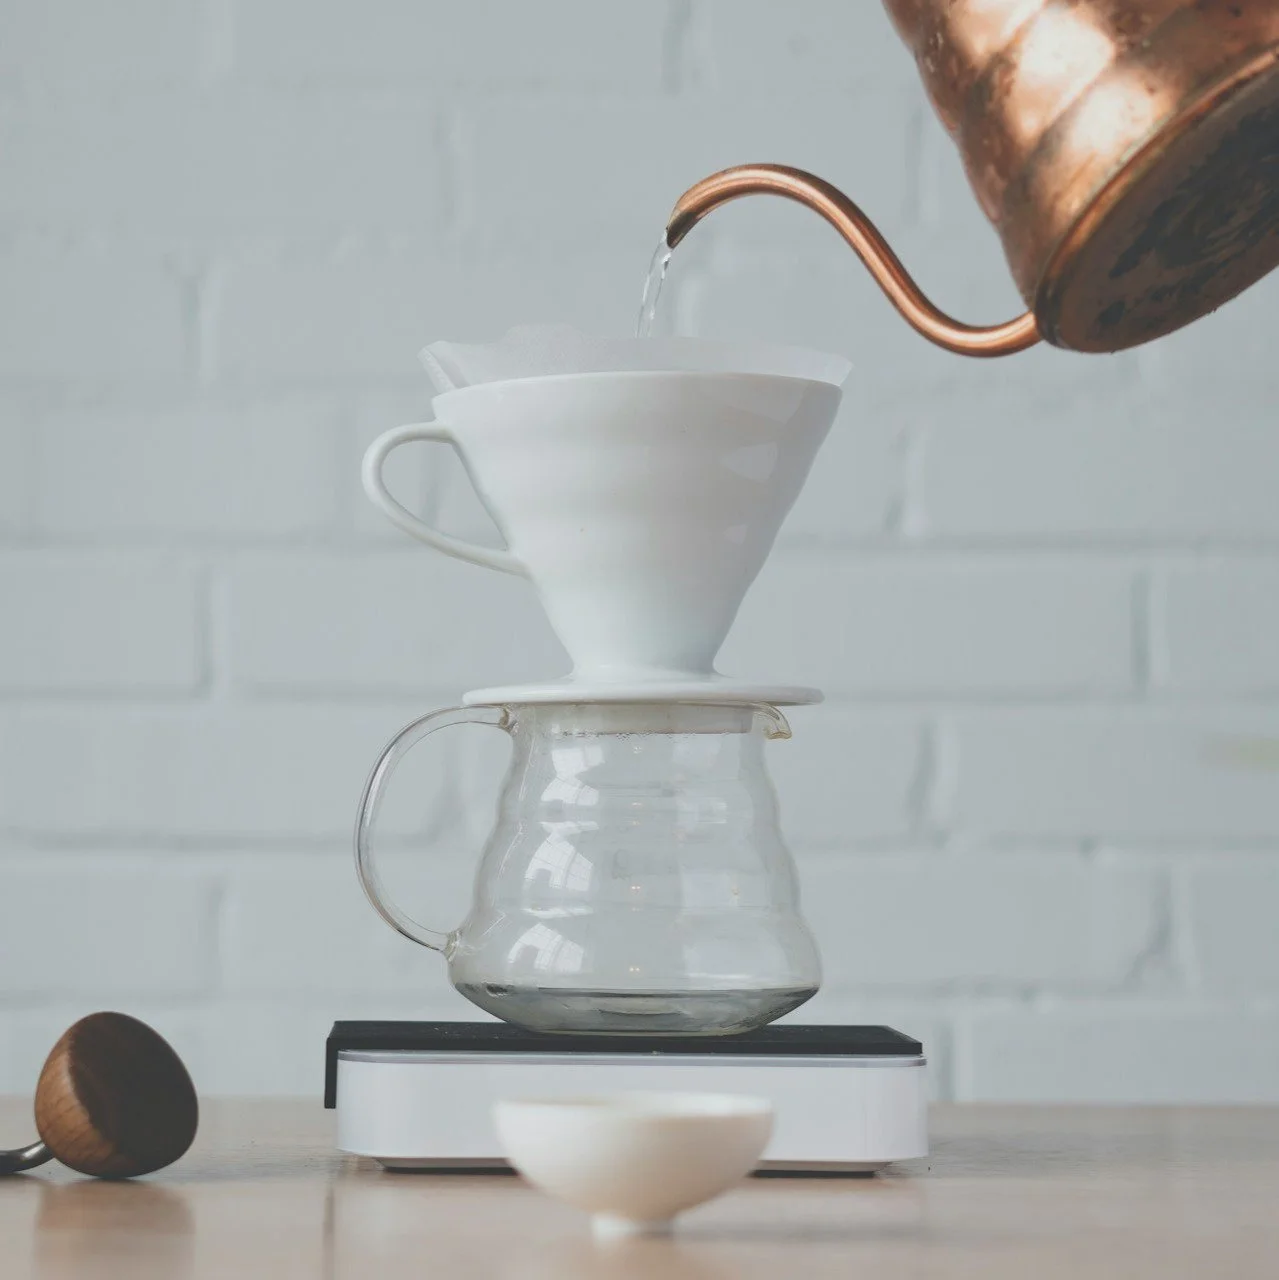
If you’ve spent any time hanging with our baristas, you already know we are absolute suckers for great design and clean, vibrant extractions. And while we love the slow-moving, heavy-glass ritual of a Chemex, there is one dripper that holds a truly legendary spot on our counter: the Hario V60.
In the world of specialty coffee, the V60 is the ultimate tool for unlocking sparkling acidity, delicate floral aromatics, and juicy fruit notes, a classic of most 4th wave coffee setups. But when it comes to mastering this conical dripper, there’s no need to reinvent the wheel or rely on coffee myth.
Today, we’re breaking down a Mia Piccola-approved recipe based directly on the world-famous V60 technique popularized by World Barista Champion and coffee educator James Hoffmann. Let's get your morning ritual dialed in.
The Design Behind the Icon: Why the 60° Angle Matters
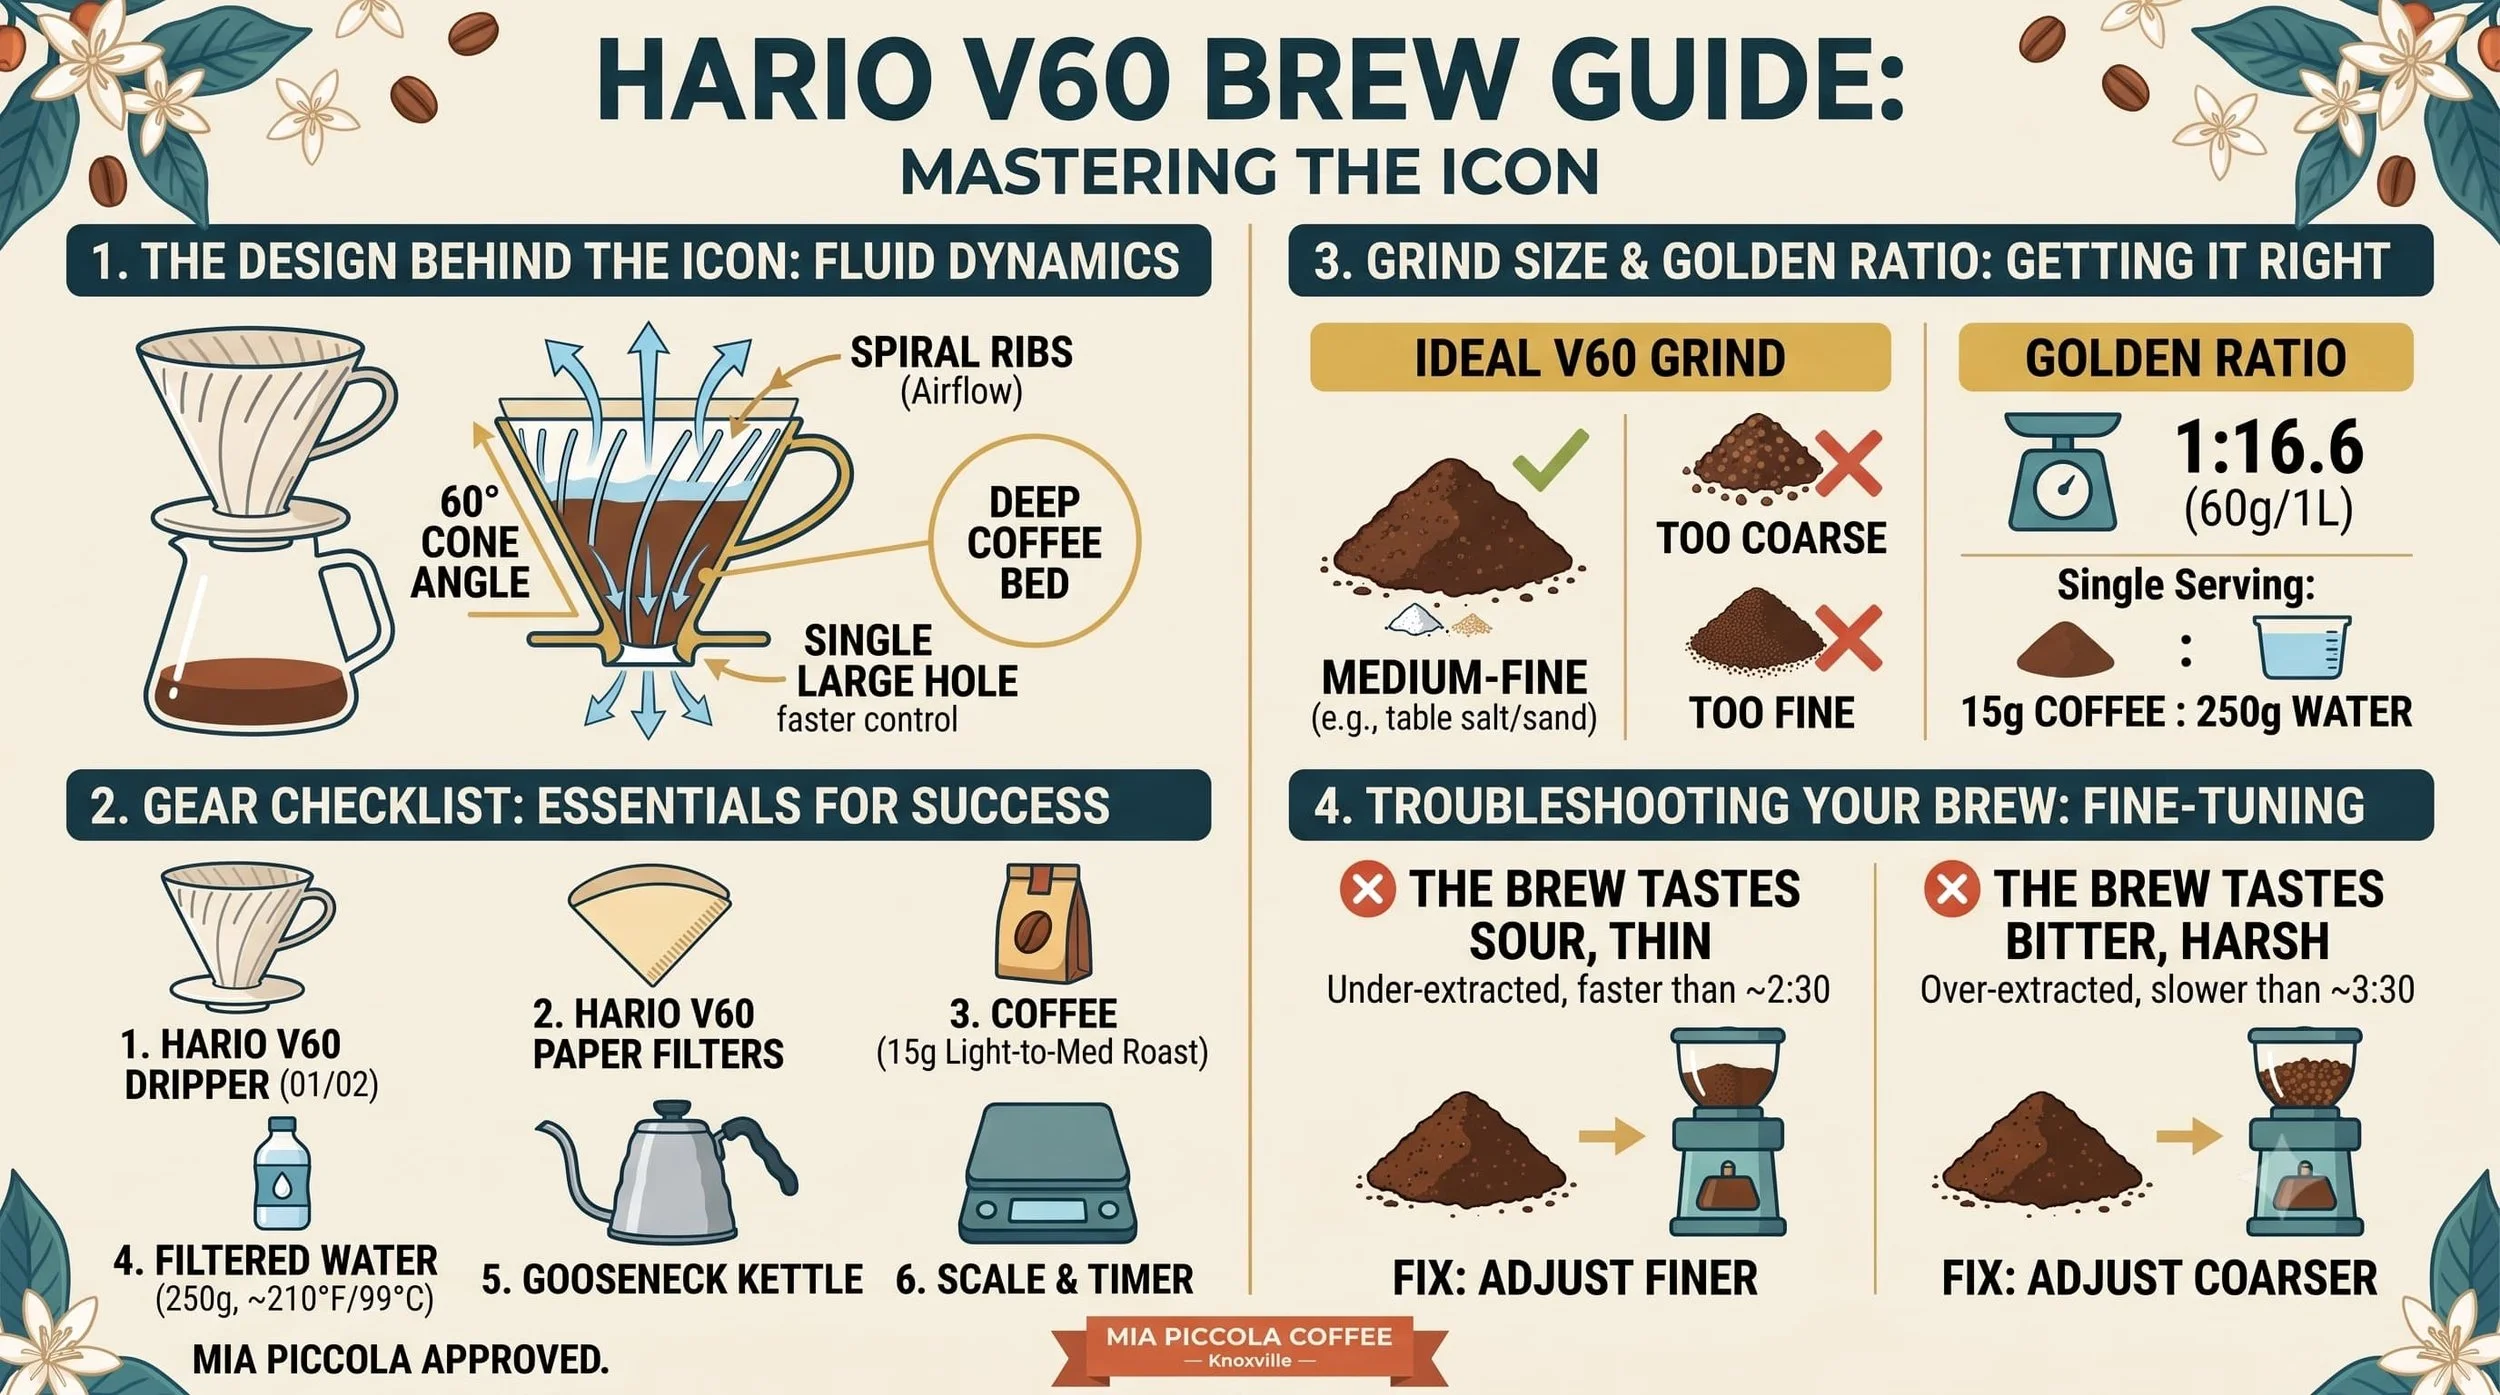
First designed in Tokyo by glassmaker Hario in 1950, the V60 gets its name from its signature 60-degree cone angle. But it isn't just a pretty ceramic piece for your counter—it's a clever piece of fluid dynamics engineering.
Unlike flat-bottom drippers that hold water in place, the V60 features three distinct design elements:
Interior Spiral Ribs: These curved ridges allow air to escape up the sides of the paper filter as water flows down, preventing the brew from stalling.
A Single Large Exit Hole: The drawdown speed is dictated entirely by your grind size and pour rate, giving you absolute control over extraction.
Conical Geometry: The deep bed of grounds forces water to flow through the center, extracting maximum flavor from every particle.
Gear Checklist & What You Need
To get that crisp, café-quality cup at home, grab these essentials:
The Coffee: 15g of light-to-medium roast whole bean coffee (we love pairing the V60 with bright, single-origin African or Central American roasts).
The Brewer: A classic Hario V60 Dripper (Size 01 or 02 in plastic, ceramic, or glass).
The Filter: Official Hario V60 Paper Filters (V01 or V02).
The Water: 250g of filtered water heated to near-boiling (208°F - 212°F / 98°C - 100°C).
The Scale & Timer: Essential for keeping your ratios and flow rate honest.
The Kettle: A gooseneck kettle for precision control.
Ideal V60 Grind Size & Golden Ratio
To keep things simple and repeatable, we use James Hoffmann’s golden ratio: 60g of coffee per 1L of water (1:16.6). For a single morning mug, that translates to 15g of coffee to 250g of water.
The Grind Target
Your grind size should resemble medium-fine table salt or coarse sand.
Because the V60 has a wide open bottom, a grind that is too coarse will cause water to rush straight through, leaving you with a thin, sour cup. Conversely, a grind that is too fine will clog the paper pores, leading to bitter, over-extracted flavors.
Step-by-Step V60 Brewing Guide
Set your V60 and paper filter over your favorite mug or glass server. Thoroughly rinse the paper filter with hot water to wash away any papery taste and preheat your dripper. Dump out the rinse water, add your 15g of ground coffee, and give the cone a gentle tap to level the coffee bed. Tare your scale.
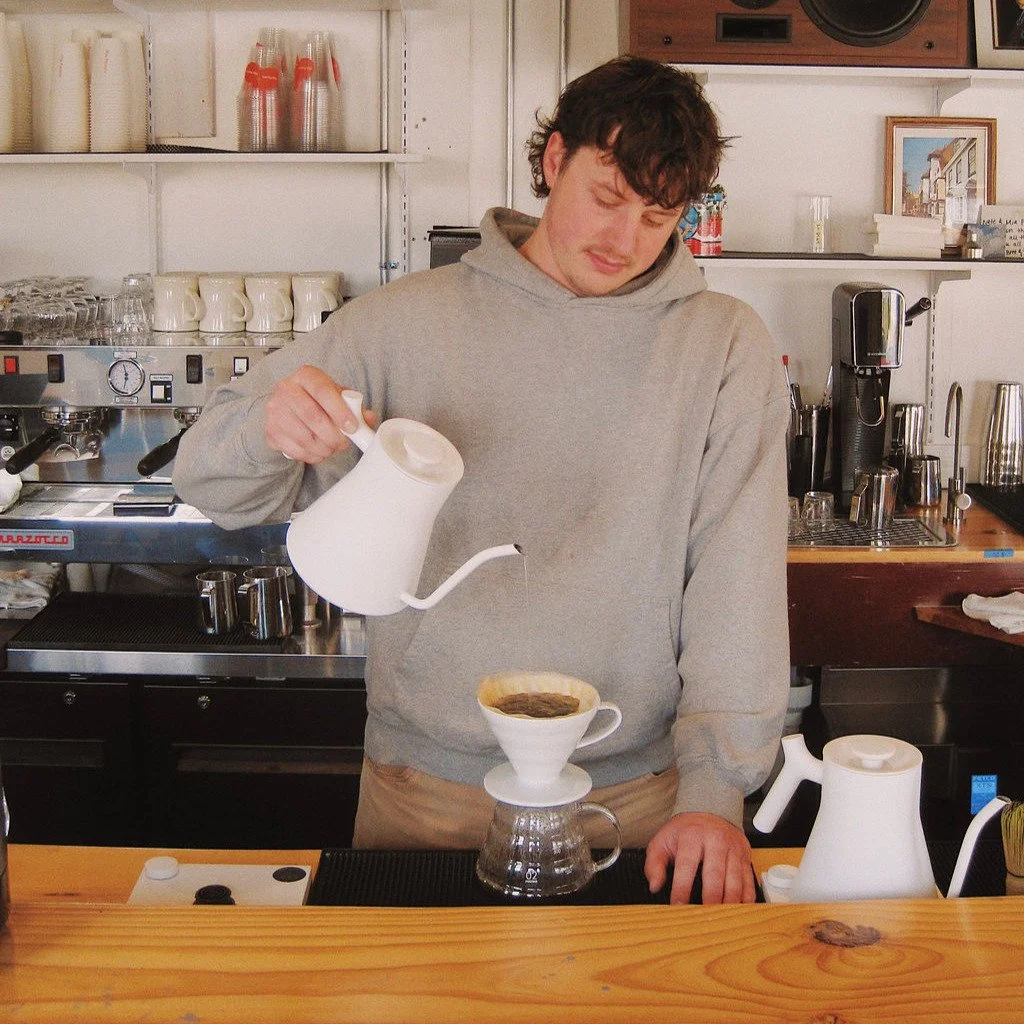
At Mia Piccola’s two coffee shop locations near Downtown Knoxville, we serve Hario V60 pour-overs, so you can always watch us in-person if you need a live demonstration.
0:00 – 0:45 | The Bloom (50g Water)
Start your timer. Pour 50g of near-boiling water (roughly 3 times your coffee weight) in a gentle spiral to saturate all the grounds.
Pro-Tip (The Hoffmann Swirl): Right after finishing your bloom pour, pick up the entire V60 dripper and give it a gentle, circular swirl. This ensures no dry pockets are trapped at the bottom without needing a spoon that might clog the filter paper. Let it degas until your timer hits 0:45.
0:45 – 1:15 | The Core Pour (Up to 150g)
At 0:45, begin your main pour in a smooth, steady spiral from the center outward. Keep your stream gentle and focused—never pour directly onto the bare paper filter walls. Ease your total weight up to 150g by 1:15.
1:15 – 1:45 | The Final Pulse (Up to 250g)
Pour the remaining 100g of water in smooth concentric circles, gently raising the liquid level until your scale reads exactly 250g.
1:45 – 3:00 | The Final Swirl & Drawdown
As the water level begins to drop, give the V60 one final, gentle swirl. This washes any stray grounds off the paper walls and settles the coffee into a flat bed, preventing water from "channeling" down the sides.
Let gravity handle the rest. Your drawdown should finish cleanly around the 2:45 to 3:15 mark, leaving a smooth, flat bed of spent grounds.
Troubleshooting Your V60 Brew
If your final cup doesn't taste quite right, tweaking your grind size will almost always fix it:
❌ The Brew Tastes Sour, Thin, or Finishes Under 2:30
The Cause: Under-extraction. Water passed through the coffee bed too quickly.
The Fix: Nudge your grinder a step finer next time to slow down the drawdown.
❌ The Brew Tastes Bitter, Harsh, or Stalls Past 3:30
The Cause: Over-extraction. Fine coffee particles clogging the paper filter.
The Fix: Adjust your grinder a step coarser to allow a faster flow.
Pour It Out & Enjoy!
Lift off the filter, toss the grounds, and give your carafe or mug a quick swirl to oxygenate the brew before taking your first sip. You'll instantly notice how crisp, clear, and nuanced the flavor notes are compared to a standard drip pot. If you have the extra money to spend and want to feel like a million bucks, we recommend using a Geisha for your brew.
Give this technique a spin on your kitchen counter tomorrow morning, and let us know how your cup turned out next time you drop by the shop! Feel free to also check out our brew guide on the Aeropress to get another master class on at-home brewing.
Attribution & Further Reading: This brew guide adapts the engineering and extraction principles developed by World Barista Champion and coffee educator James Hoffmann. To watch his original technique in action, check out his deep-dive tutorial: The Ultimate V60 Technique by James Hoffmann.