
Aeropress Brew Guide: How to Brew Clean, Rich Coffee at Home or On the Go
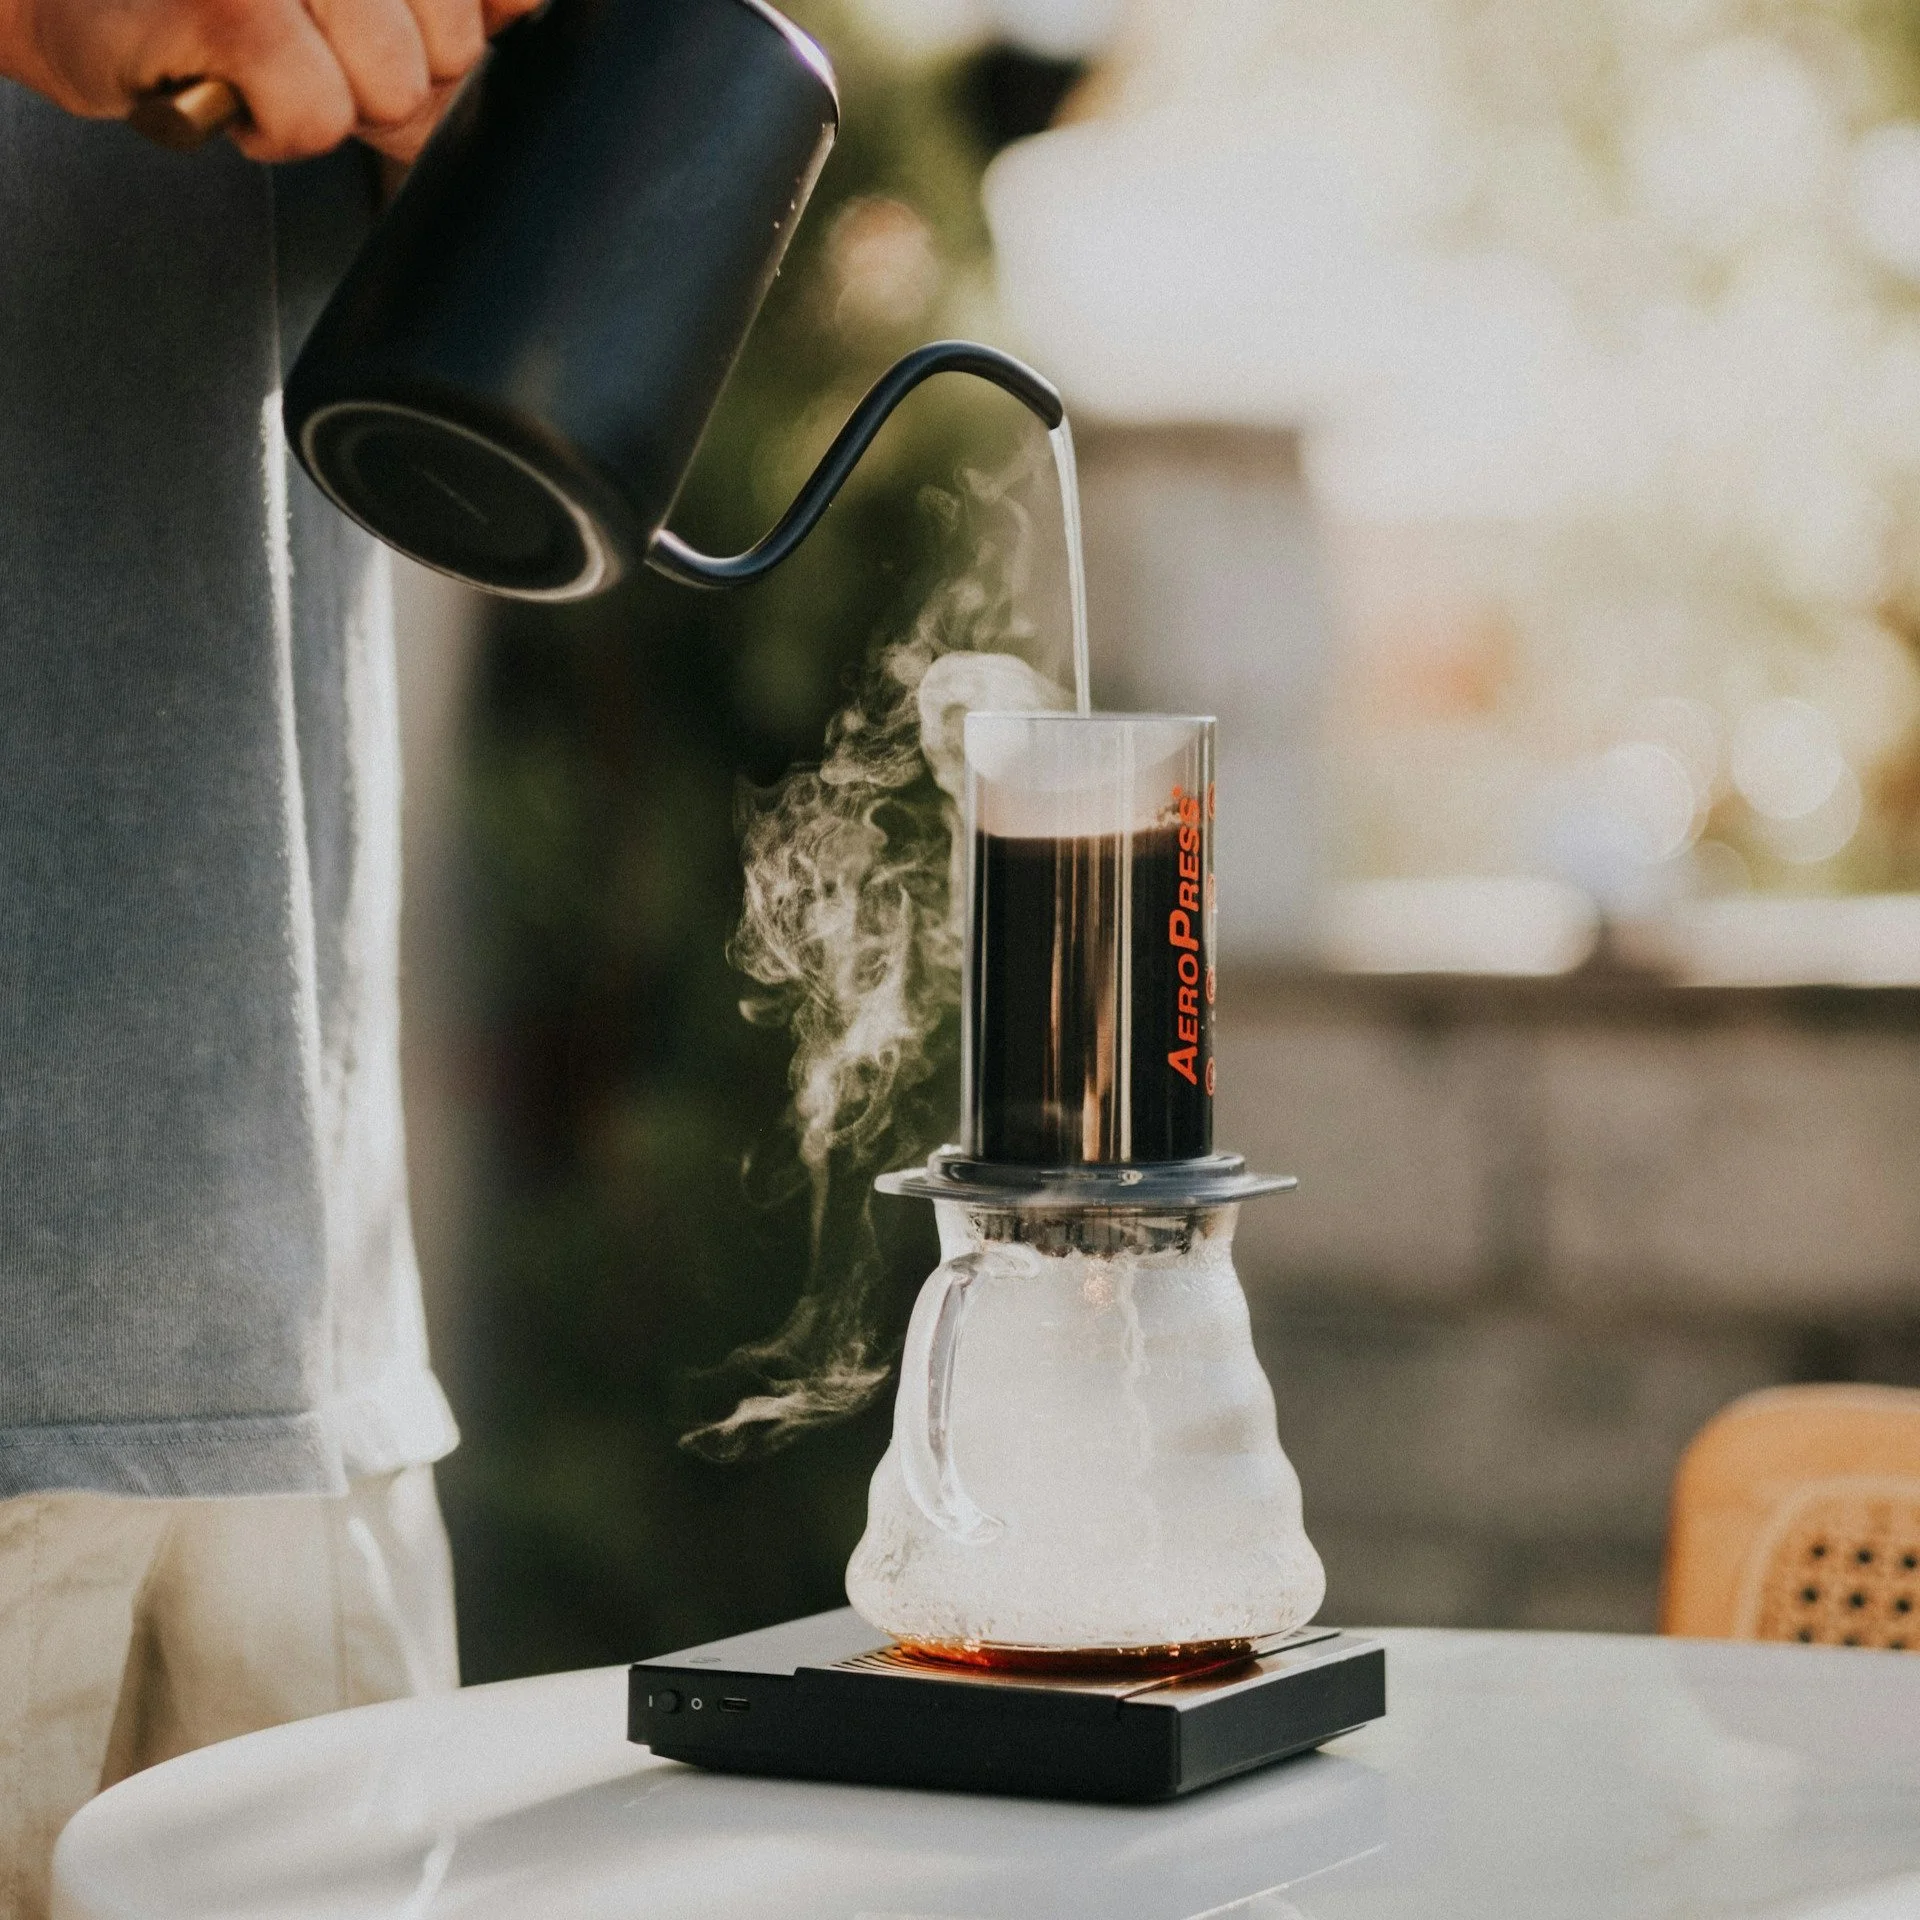
If you’ve pulled up a stool at our coffee shops, you know we love tools that marry smart engineering with incredible versatility. While glass pour-overs like the Chemex and Hario V60 hold a special place on our counter, there’s one indestructible, plastic icon that every home barista needs in their kit: the AeroPress.
Invented in 2005 by Alan Adler (the brilliant toy engineer who also gave us the Aerobie flying ring!), the AeroPress looks a bit like a giant medical syringe. But don't let its quirky plastic body fool you. By combining full-immersion steeping with air-pressure filtration, the AeroPress yields a remarkably smooth, sweet cup with almost zero bitterness and lightning-fast cleanup.
While there are dozens of ways to brew on an AeroPress—including the famous "inverted" flip method—today we’re breaking down a foolproof, mess-free recipe based on the Ultimate AeroPress Technique developed by World Barista Champion and coffee educator James Hoffmann. Let's dive in.
Why the AeroPress Works: Immersion Meets Pressure
Most coffee brewers force you to choose between two styles:
Immersion (like a French Press): Coffee grounds sit submerged in water, extracting deep body and sweetness, but often leaving muddy sediment behind.
Percolation (like a V60 Pour-Over): Water flows through a paper filter, delivering sparkling clarity, but requiring precise pour-over technique.
The AeroPress gives you the best of both worlds. The coffee steeps in full immersion for maximum sweetness, and then a rubber plunger forces the liquid through a fine paper filter under gentle air pressure. The result? The deep body of an immersion brew with the crisp, sediment-free clarity of a pour-over.
Gear Checklist & What You Need
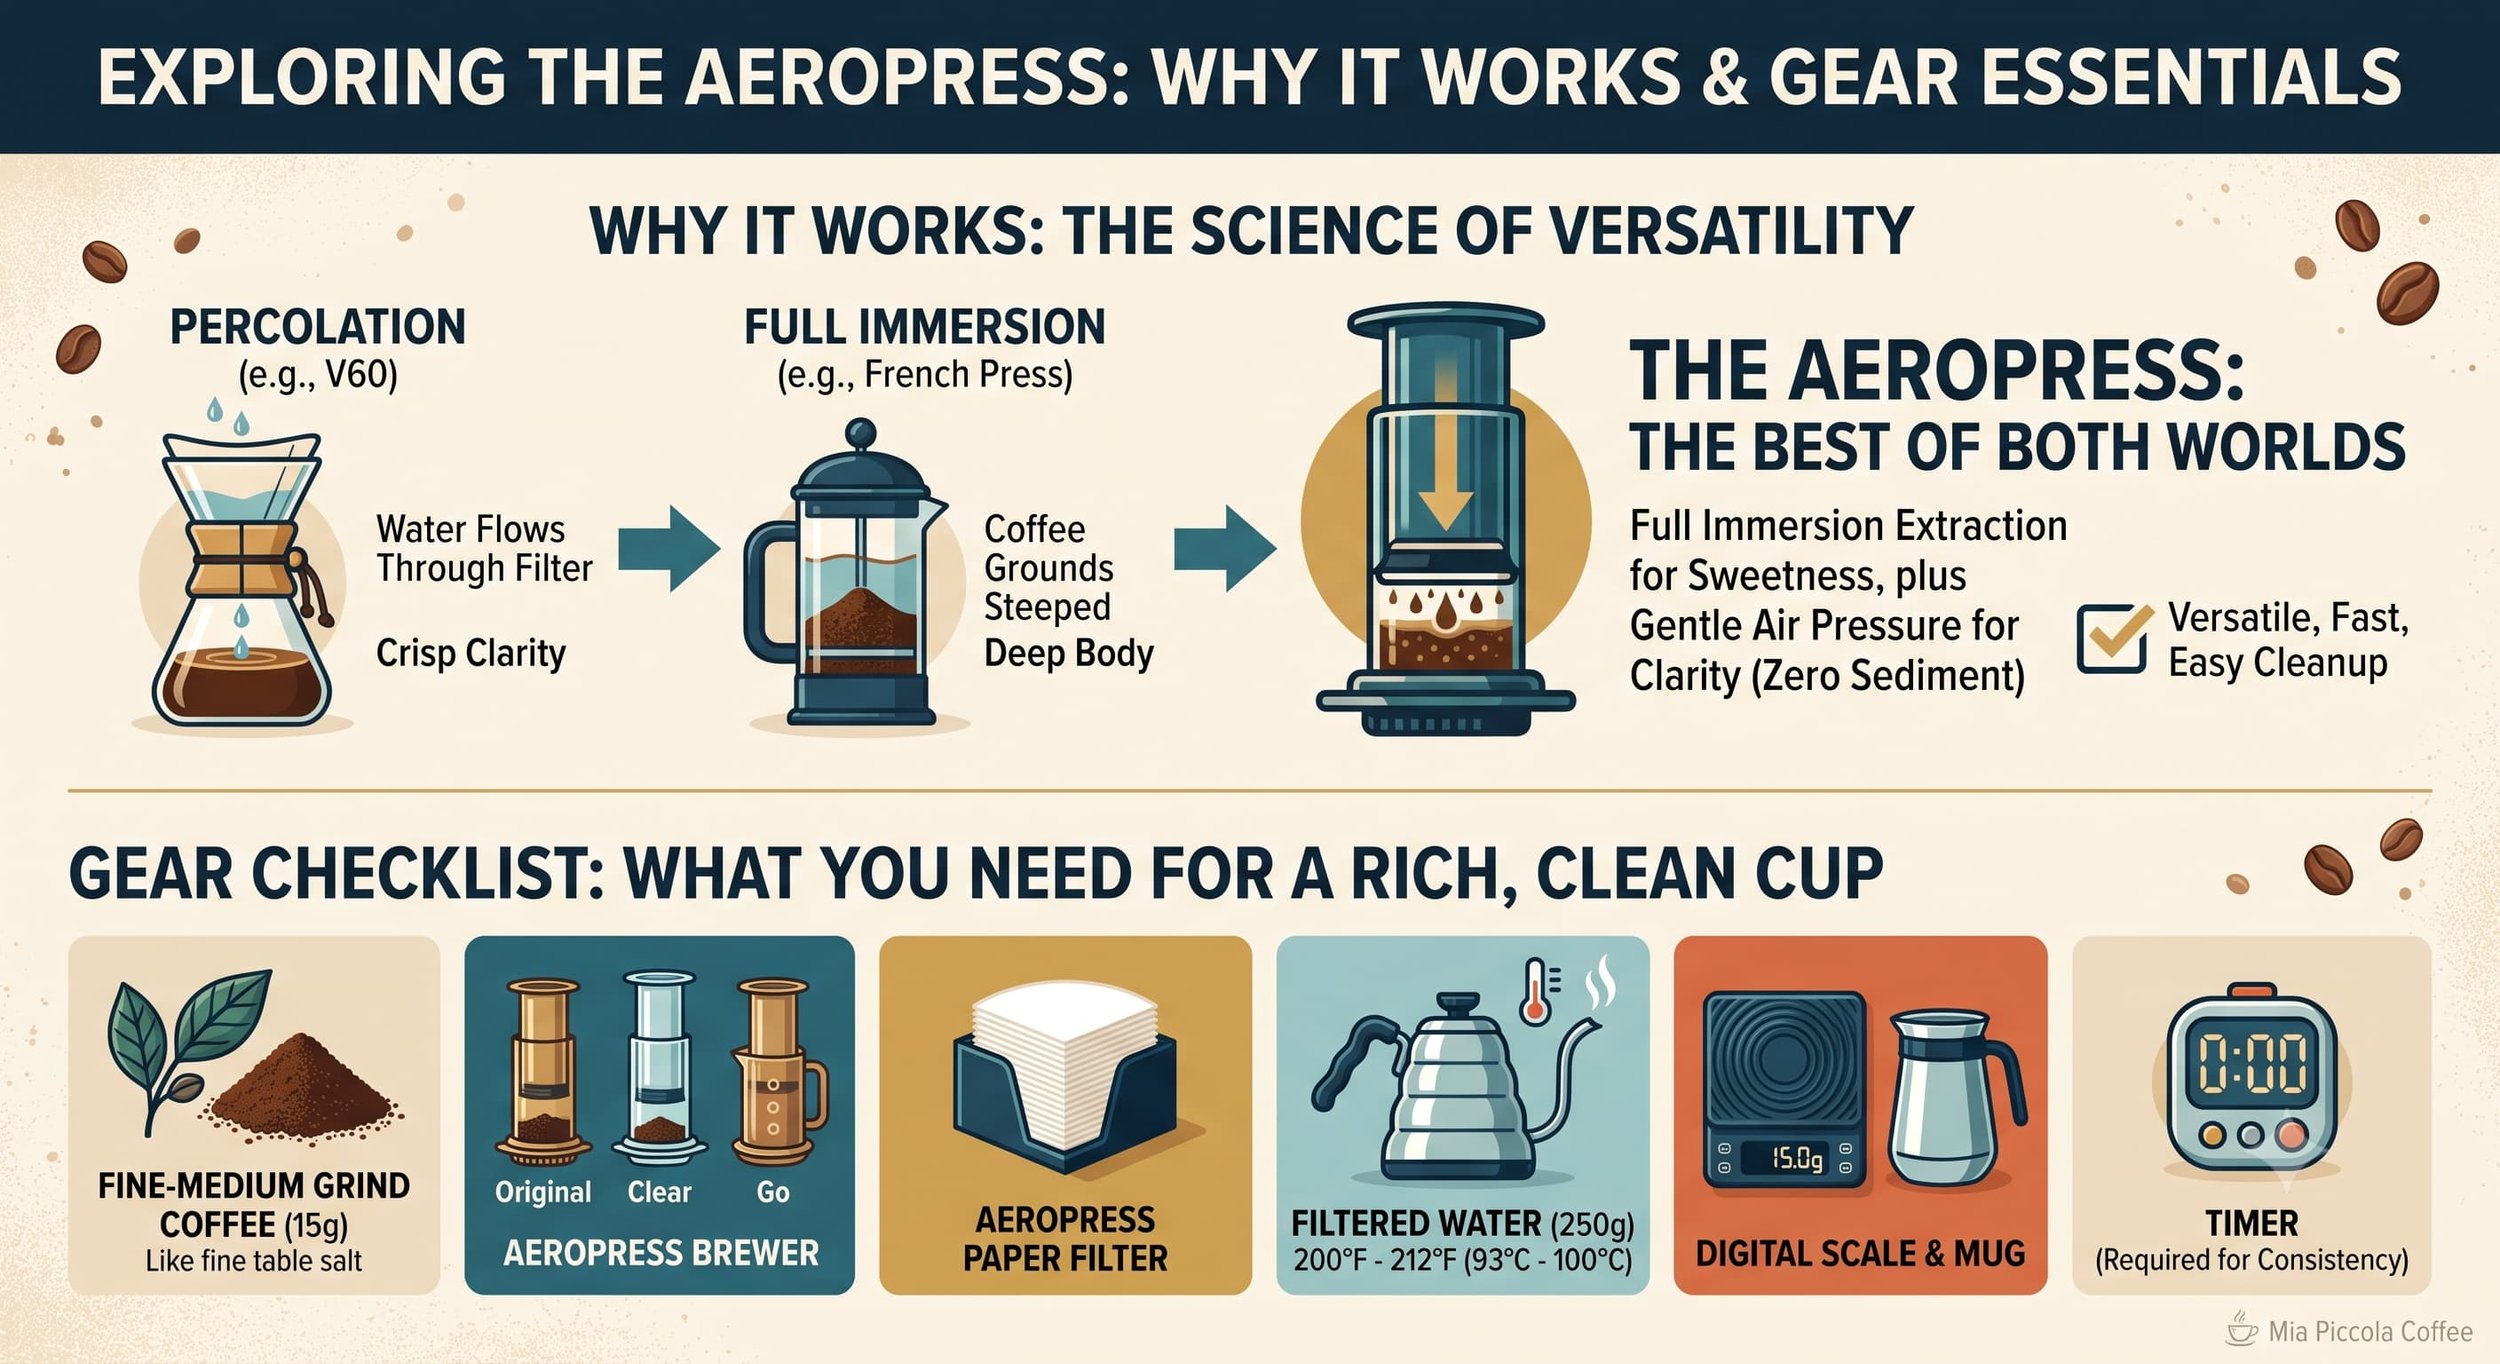
To get that rich, café-quality cup going, gather these baseline items for your 4th wave at-home setup:
The Coffee: 15g of whole-bean coffee ground fine-to-medium (think fine table salt). If you’re being extra bougee, try a Geisha coffee for your brew!
The Brewer: An AeroPress Original, AeroPress Clear, or AeroPress Go.
The Filter: One official AeroPress paper filter.
The Water: 250g of filtered water heated to 200°F - 212°F (93°C - 100°C).
The Vessel: A sturdy ceramic mug or glass server with a wide enough rim to support the brewer.
The Scale & Timer: Essential for keeping your ratios consistent.
Ideal AeroPress Grind Size & Golden Ratio
We use a clean, versatile ratio matrix: 15g of coffee to 250g of water (a 1:16.6 ratio).
The Grind Target
Because the paper filter is thin and the press utilizes gentle pneumatic pressure, your grind size should be fine-to-medium, noticeably finer than a pour-over but coarser than true espresso.
If your grind is too coarse, the coffee will taste thin and watery. If it’s too fine, pressing the plunger will feel like pushing through solid concrete!
Step-by-Step AeroPress Brewing Guide
We are using the Standard (Upright) Method. Set your AeroPress chamber directly on top of your mug, insert a paper filter into the cap, rinse it with a splash of hot water, and twist the cap securely onto the chamber. Dump out the rinse water from your mug, add your 15g of fine-ground coffee, and tare your scale.
0:00 – 0:15 | The All-At-Once Pour (250g Water)
Start your timer. Pour all 250g of near-boiling water directly over the grounds in one fast, continuous stream. Make sure all the grounds are saturated.
0:15 – 0:30 | The Vacuum Hack (Stop the Drip!)
Here’s a clever move popularized by James Hoffmann: instead of flipping your brewer upside down to stop water from dripping through early, simply insert the plunger top about 1/2 inch into the top chamber.
This creates an airtight vacuum seal that locks the water in place, stopping drip-through completely without any risky upside-down maneuvers!
0:30 – 2:00 | The Full-Immersion Steep
Sit back and relax. Let the coffee immerse completely undisturbed for 1 minute and 30 seconds.
2:00 – 2:30 | The Gentle Swirl
At the 2:00 mark, hold your mug and AeroPress securely, lift them together slightly, and give the chamber a gentle, circular swirl. Re-insert the plunger seal. This gentle motion washes any floating grounds off the walls and settles them into a flat bed at the bottom. Let it sit for 30 seconds.
2:30 – 3:00 | The Gentle Press
At 2:30, place your hand on top of the plunger and apply light, steady weight. Let gravity do most of the work—forcing the press down too hard will compact the puck and make pressing harder.
Demystifying the "Hiss": Should You Press All the Way?
Old-school coffee lore says you should stop pressing the moment you hear a "hissing" sound of air escaping at the bottom, claiming that air pushes bitter oils into your cup.
Myth busted: The hiss is simply trapped air pushing through the spent coffee bed. Pressing all the way through the hiss won't ruin your flavor, and it creates a firm, dry coffee "puck" that pops directly into your compost bin with a satisfying thwack.
Troubleshooting Your AeroPress Brew
If your final cup isn't hitting the spot, here is how to tweak it:
❌ It's Impossible to Press Down
The Cause: Your grind size is way too fine, or you are pushing down far too hard.
The Fix: Coarsen your grind setting by a notch or two, and use lighter, gentler hand weight.
❌ The Coffee Tastes Sour or Weak
The Cause: Under-extraction. Water passed through too quickly or the grind was too coarse.
The Fix: Nudge your grinder finer, or let the immersion steep for an extra 30 seconds before swirling.
❌ The Coffee Tastes Bitter or Harsh
The Cause: Over-extraction or water that is scorching dark roasts.
The Fix: Coarsen your grind size slightly, or drop your water temperature down to 195°F.
Clean Up & Enjoy!
Unscrew the filter cap, position the AeroPress over your compost bin, and press the plunger all the way through to pop the puck right out. Give the rubber seal a quick rinse, pour your coffee, and enjoy!
Give this technique a spin on your kitchen counter or take it on your next weekend camping trip, and let our Knoxville specialty coffee baristas know how your batch turned out next time you visit us at the shop! You can also check out our brew guide for the Kalita Wave if you’re interested in honing your barista skills.
Attribution & Further Reading:
This brew guide adapts the extraction principles and recipe tested by World Barista Champion and coffee educator James Hoffmann. You can watch his complete deep-dive breakdown on YouTube:The Ultimate AeroPress Technique by James Hoffmann.