How to Make the Perfect Pour Over Coffee at Home: The Art of Slowing Down
There is something deeply grounding about the morning ritual of a pour-over. In a world that is always demanding we move faster, spinning a slow stream of hot water over fresh coffee grounds forces you to just... exist in the moment for a few minutes. It is a beautiful dance of aromas, steam, and patience.
If you have ever had an otherworldly, clean, crisp cup of coffee at a local shop and wondered how to recreate that magic in your own kitchen, you are in the right place. Learning how to make pour-over coffee isn't about rigid, stressful perfectionism—it is about understanding a few simple variables and finding your rhythm.
Grab your favorite mug, put on a good playlist, and our Knoxville coffee bar will walk you through the ultimate guide to mastering the pour-over bar at home.
The Countertop Lineup: Your Brew Gear

Before we boil any water, let’s talk about the tools of the trade. You don’t need a laboratory setup, but a few key pieces of gear will completely transform your morning cup from "decent" to "mind-blowing."
The Beans: We recommend grabbing your favorite specialty coffee beans from a local shop when making your pour over coffee. Our personal favorites that have the most noticeable tasting notes are single-origin beans from regions such as Colombia and Ethiopia.
The Brewer: Whether you are rocking a classic Hario V60, a beautiful glass Chemex, or a forgiving Kalita Wave, the core principles remain identical. If you are just starting out and shopping for your best pour-over coffee maker, we highly recommend a simple, single-cup plastic cone. It is incredibly affordable, virtually indestructible, and holds onto heat beautifully.
The Grinder: If you make one investment in your coffee routine, make it a burr grinder. Unlike blade grinders (which violently chop beans into uneven boulders and dust), burr grinders crush the coffee into uniform particles, ensuring an even, balanced extraction.
The Digital Scale: Volumetric measurements (like tablespoons) are a guessing game because different coffee beans have different densities. A simple digital scale measuring in grams removes the guesswork completely.
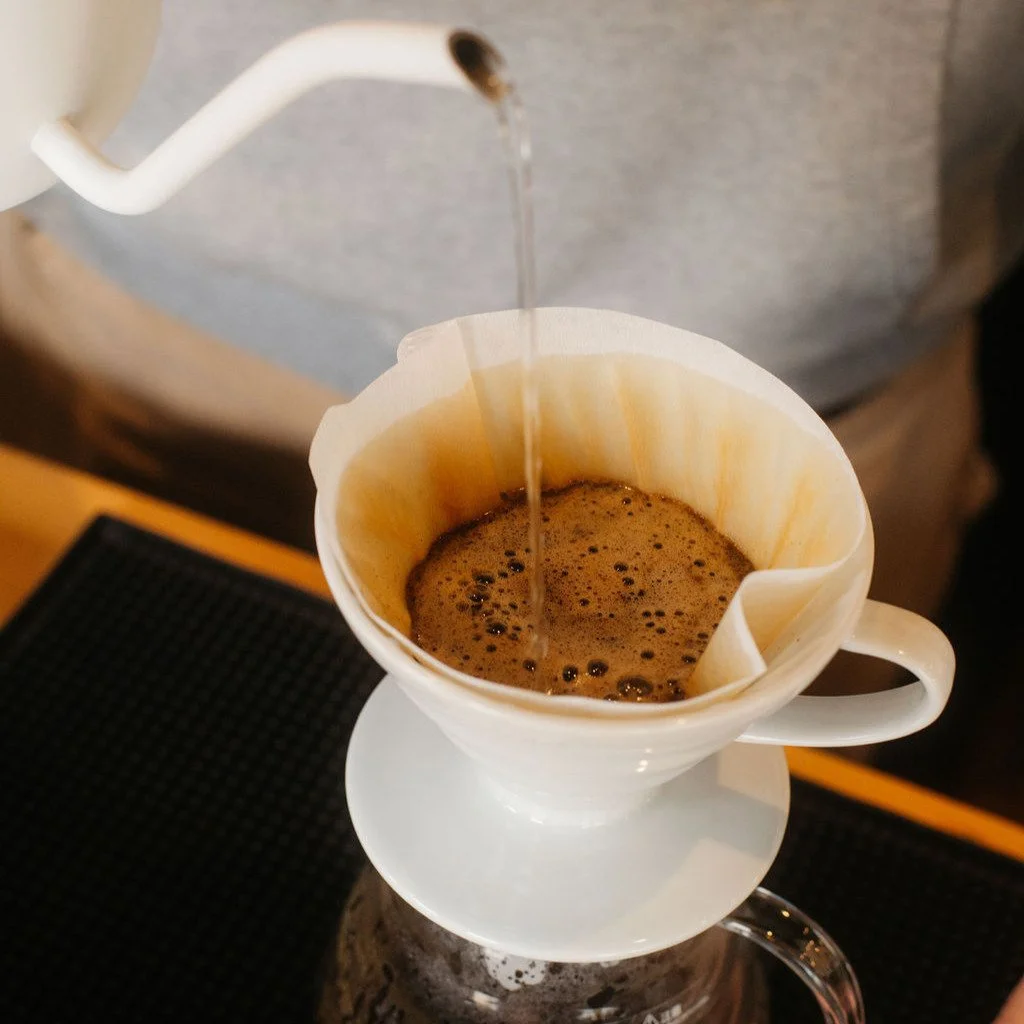
The Gooseneck Kettle: While a standard kitchen kettle pours water in a turbulent rush, a gooseneck kettle gives you a slender, controlled stream. This allows you to place the water exactly where you want it, ensuring all the grounds are treated equally.
What is the Best Pour Over Coffee Ratio?
The secret to a balanced cup of coffee comes down to simple math, often called the "Golden Ratio." A fantastic, universal baseline for a vibrant, flavorful pour over is a 1:16 ratio—meaning for every 1 gram of coffee, you will use 16 grams of water.
If you are just brewing a single, generous cup for yourself, the math translates perfectly to:
15 grams of freshly ground coffee
250 grams of water
The 20% Block Trick
To make this math incredibly easy to track while you are pouring, we look to a brilliant mental framework popularized by world-renowned coffee expert James Hoffmann. Instead of obsessing over a continuous, confusing stream of numbers, break your total water weight down into five equal blocks of 20%.
For our 250-gram single-cup brew, that means your entire process is just five simple pulses of 50 grams of water.
If you decide to scale up to a larger 300-gram mug later on, your blocks simply become 60 grams each. It keeps your workflow clean, repeatable, and completely stress-free.
Step-by-Step: The Master Universal Method
Want to see this rhythmic, single-cup pulse technique in action? Check out this fantastic video breakdown by coffee expert James Hoffmann.
Ready to brew? Let's bring everything together. Keep your water clean, soft, and freshly filtered. If you are using a light, fruit-forward roast, bring your water all the way to a rolling boil. For medium or darker roasts, let the kettle sit for a minute after boiling to hit a slightly cooler temperature range (around 190°F to 200°F) so you don't over-extract those heavier, roasty notes.
1.The Prep & Warm-Up:Prep Time: 2 mins.
Place your paper filter into the dripper and give it a thorough rinse. Interestingly, in thermal testing, James Hoffmann noted that using a very hot kitchen tap to rinse and preheat a plastic brewer works perfectly without wasting energy from your kettle. This washes away any papery taste and warms up your gear. Dump the rinse water out of your mug before proceeding.
2.The Volcanic Bloom:Timer: 0:00 - 0:45.
Add your 15 grams of ground coffee to the filter and give it a gentle shake to flatten the bed. Give the center of the grounds a tiny, shallow tap with your finger—like a miniature volcano crater. Place everything on the scale and tare it to zero. Start your timer, and slowly pour your first 50 grams of water over the grounds. Give the brewer a gentle, slow swirl to ensure every single grain is wet. Now, wait 45 seconds. This is the pour over coffee bloom, where the beans release trapped carbon dioxide gas to make room for sweet water extraction.
3.The First Pulse:Timer: 0:45 - 1:10.
At the 45-second mark, begin your second pulse. Pour in slow, steady concentric circles, keeping your kettle spout low to the coffee bed. Bring the scale up to 100 grams total. This pour should take about 10 seconds, followed by a 10-second rest.
4.Building the Body:Timer: 1:10 - 2:00.
Repeat the rhythm. At 1:10, pour smoothly in circles up to 150 grams. Rest 10 seconds. At 1:30, pour up to 200 grams. Rest 10 seconds. By keeping the kettle spout close to the water level, you create a continuous, gentle stream that agitates the coffee just enough to pull out the natural sugars without tearing channels through the coffee bed.
5.The Final Glide & Drawdown:Timer: 2:00 - 3:00.
At the 1:50 mark, pour your final 50-gram block, bringing the scale to your grand total of 250 grams. Give the entire brewer one final, very gentle swirl to wash any stray coffee grounds off the paper walls and settle the bed flat. Now, let gravity do the work. The water should steadily draw down through the bed, leaving you with a flat, smooth, dry surface right around the 3-minute mark.
How to Adjust Your Pour Over Grind Size for the Best Taste
If your final brew doesn’t taste exactly how you wanted it to on the first try, don't sweat it. Coffee is a living thing, and dialling in your pour-over grind size is half the fun. Your target texture should generally resemble fine sea salt, but instead of guessing purely by sight, you can use a brilliant, taste-based feedback loop to find your perfect setting.
In his research on single-cup extraction dynamics, James Hoffmann recommends pushing your grinder a step finer on subsequent days until you eventually hit a "wall" of harsh bitterness and a dry, astringent texture on your tongue.
That bitterness is a sign that the grind is too fine, causing the water to channel unevenly through the bed. Once you hit that wall, simply back your grinder off a notch or two coarser. Right on the edge of that boundary is where you will find the sweetest, fullest, and most vibrant cup of coffee your beans can possibly give.
If your coffee tastes weak, sour, or watery: Your grind is likely too coarse (the water rushed through too fast without extracting enough flavor).
If your coffee tastes intensely bitter, heavy, or woody: Your grind is too fine (the water is trapped and over-extracting the grounds).
Enjoy the Ritual
At the end of the day, recipes are just guideposts. The best cup of coffee is quite simply the one that makes you smile when you take that first sip.
Don't stress over a single missing gram or a second of mistimed pouring—enjoy the process, smell the fresh blooms, and savor the reward of crafting something beautiful with your own hands.
Happy brewing, friends! And don’t forget to ask your friendly barista for more pour over coffee tips at our Knoxville specialty coffee shops.